
Installing a float valve can be a simple and easy task that could help conserve water and streamline your plumbing system. With just a few basic tools and some patience, you can tackle this project with ease.
First, locate the area where you would like to install the float valve and ensure that the plumbing system is turned off. Next, carefully inspect the existing pipes and fittings to ensure that they are clean and free of any debris.
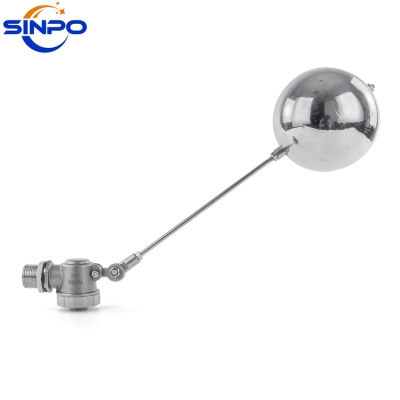
Measure the distance between the water source and the float valve to ensure that you purchase the correct size and type of valve. There are a few different types of float valves available, so it is important to choose the right one for your specific needs.
Once you have purchased the correct float valve, carefully read the instructions that come with it and familiarize yourself with the installation process. You may need to cut and connect pipes and fittings in order to install the valve, so it is important to take your time and do this step carefully.
After the float valve is installed and connected to the water source, it is important to test it and ensure that it is functioning properly. Turn on the water and observe the valve to ensure that it is filling and shutting off as it should.
Overall, installing a float valve is a great way to conserve water and improve the efficiency of your plumbing system. With a little bit of effort and patience, anyone can complete this project and enjoy the benefits it brings.


LiveChatclose

 Send Email
 13656869337